

 en
en 简体中文
简体中文 English


Content
Quick answer: to clean a wet brush, remove trapped hair first with a comb or the brush's own bristle row, then soak the bristle head (not the handle or cushion base) in warm water mixed with a few drops of clarifying shampoo for 5–10 minutes, gently work the solution through the bristles with your fingers or an old toothbrush, rinse thoroughly under running water, and let it air-dry bristle-side down so water drains out rather than pooling in the base. Doing this every 1–2 weeks prevents the two most common problems with detangling brushes: product buildup that reduces grip on wet hair, and bacterial growth in the damp cushion base.
Wet brushes and other detangling-style hairbrushes are specifically designed to glide through hair while it's damp, which makes them more effective at reducing breakage than a standard brush — but that same open-bristle, flexible-base design also traps hair, conditioner residue, and moisture more easily than a solid-back brush. A brush that isn't cleaned regularly doesn't just look dirty; the bristles lose glide, the base can develop odor, and buildup left on the bristles gets redistributed into clean hair on the next use.
How to Clean a Wet Brush: Step-by-Step
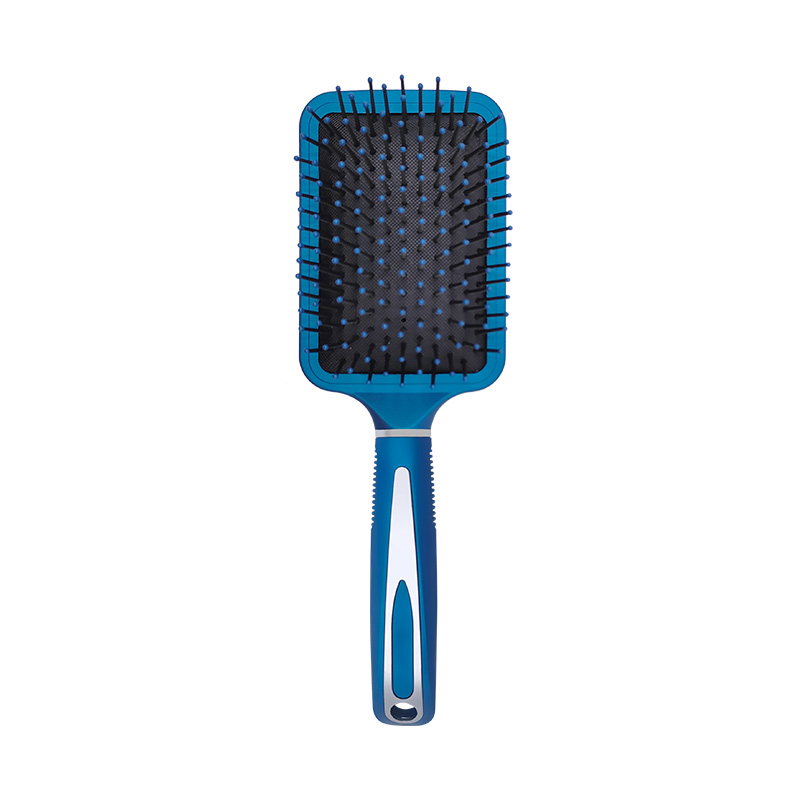
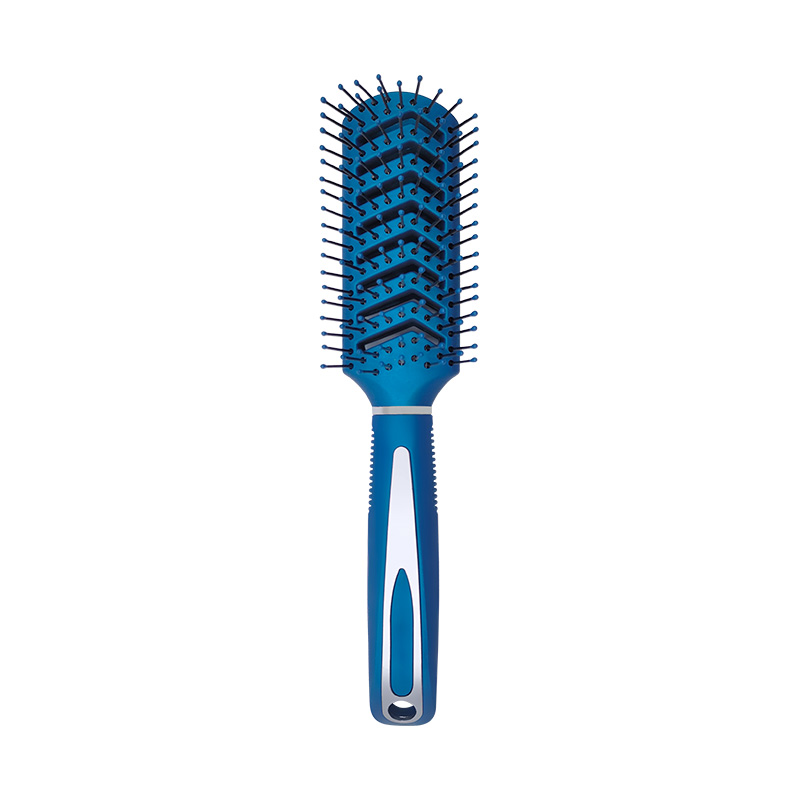
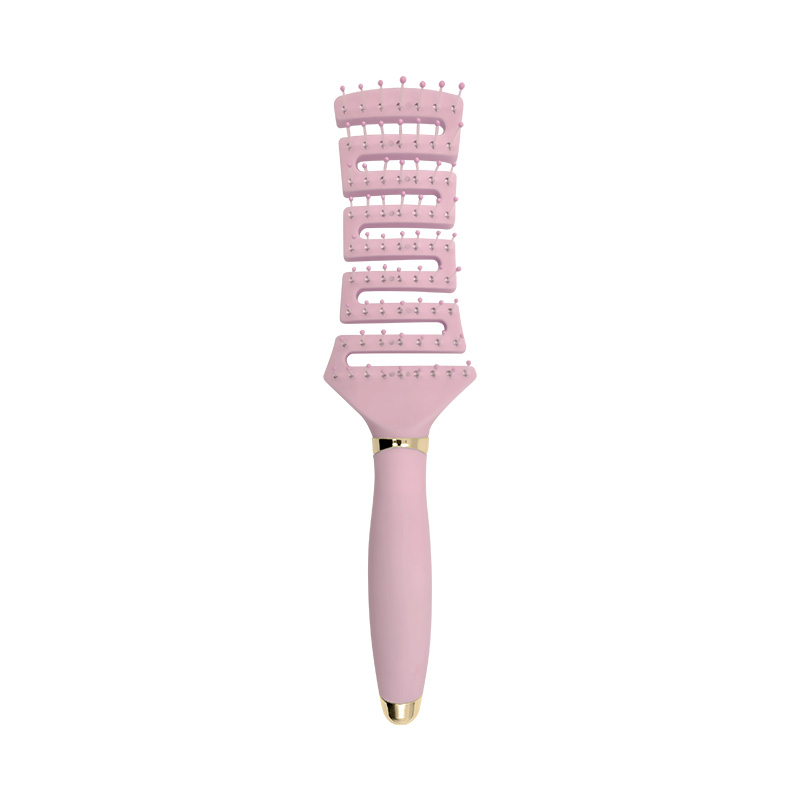
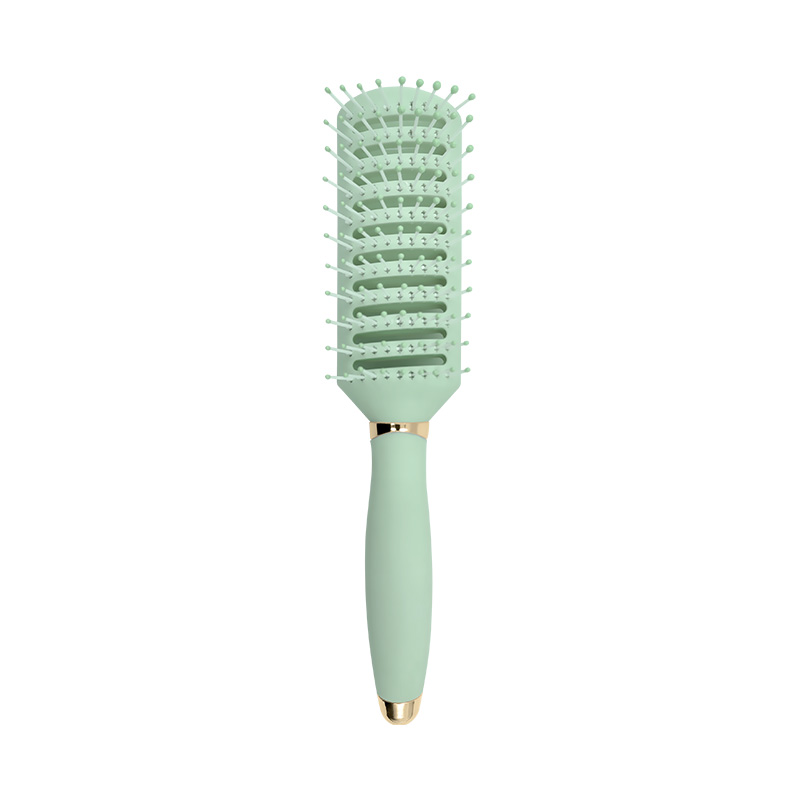
This method works for the flexible-bristle detangling brushes most people mean by "wet brush," including open-vent and paddle-style versions. The full process takes about 15 minutes including drying setup, and most of that is passive soak time.
- Remove loose hair first. Use a rat-tail comb or a second brush to pull trapped hair out from the base of the bristles, working from the base outward. Skipping this step means the shampoo soak mostly cleans hair that's about to be thrown away, not the bristles underneath.
- Mix a warm water and clarifying shampoo solution. Fill a shallow bowl with warm (not hot) water and a few drops of clarifying shampoo — clarifying formulas cut through product buildup more effectively than a moisturizing shampoo. Hot water can warp certain plastic bristle bases over repeated cleanings, so warm is the safer default.
- Soak bristle-side down only. Submerge just the bristle head for 5–10 minutes. Many wet brushes have a cushioned rubber base that isn't fully sealed — soaking the whole brush can trap water inside the cushion, which is the main cause of lingering odor.
- Work the solution through with a toothbrush. Gently scrub between the bristle rows with an old, soft toothbrush to lift out embedded product and oil that a rinse alone won't remove.
- Rinse thoroughly under running water. Any shampoo residue left in the bristles attracts more buildup the next time the brush is used, so rinse until the water runs clear.
- Air-dry bristle-side down. Resting the brush on a towel with the bristles pointing down lets residual water drain away from the base instead of soaking into it, which meaningfully cuts drying time and reduces bacterial growth risk.
If the bristles feel slightly stiff or squeak instead of gliding smoothly after they dry, that's usually leftover shampoo residue from an incomplete rinse — a second quick rinse under running water for 30 seconds typically fixes it.
How Often You Should Clean a Detangling Hairbrush
Cleaning frequency should track how often the brush is used and what's applied to hair before or after brushing, not a fixed calendar date. The table below gives a practical starting point.
| Usage Pattern | Recommended Cleaning Frequency | Why |
|---|---|---|
| Daily use, no heavy styling products | Every 1–2 weeks | Natural oil and light product buildup accumulates gradually |
| Daily use with leave-in conditioner, oils, or serums | Weekly | Heavier products build up on bristles faster and reduce glide sooner |
| Occasional use (few times a week) | Every 3–4 weeks | Lower usage means slower buildup, but dust and loose hair still accumulate |
| Kids' brushes or shared household brushes | Weekly | More frequent use and shared use increases hygiene priority |
Between full washes, a quick 30-second rinse under warm water after removing trapped hair keeps buildup from compounding, and takes less time than letting it accumulate for a full month.
Mistakes That Damage a Wet Brush While Cleaning It
- Soaking the whole brush, including the handle. Handles are often glued or press-fit onto the bristle base; prolonged soaking can loosen that bond over repeated washes and cause the handle to separate over time.
- Using hot water. Many detangling brush bases are made from a flexible rubber or silicone-like material that can soften or warp under repeated hot-water exposure, changing how the bristles sit and reducing detangling effectiveness.
- Scrubbing with a stiff-bristled brush. A hard scrub brush can bend or snap the fine flexible bristles that make a wet brush effective in the first place; a soft toothbrush is gentle enough to clean without damaging bristle shape.
- Drying bristle-side up. This traps water at the base of the bristles and in the cushion, extending drying time and increasing the chance of lingering odor or mildew smell.
- Using bleach or harsh disinfectants on the bristles. These can degrade the bristle material and cause it to become brittle or discolored well before normal wear would.
Why Bristle Design Affects How Hairbrushes Should Be Cleaned
Not every hairbrush should be cleaned the same way, and the reason comes down to how the bristles and base are actually constructed. Understanding a few construction basics — the kind of detail a hairbrushes factory works with at the material-sourcing stage — makes it easier to clean a brush without damaging it.
Flexible Nylon Bristles vs. Natural Boar Bristles
Most wet and detangling brushes use flexible, gel-tipped or rounded nylon bristles designed specifically to bend under tension rather than snag hair — this is what makes them water-safe for a full soak. Boar bristle brushes, by contrast, are usually built around natural bristle that shouldn't be fully submerged, since prolonged water exposure can dry out and split natural bristle over time; those brushes are better cleaned with a damp cloth wipe-down instead of a soak.
Cushion Base Material
The rubber or foam cushion base under the bristles on most detangling brushes is what allows the bristles to flex as they move through hair. This base is rarely fully waterproof at the seams where bristles are set into it, which is the direct reason full-brush submersion is discouraged — water works into those seams faster than it evaporates back out.
Handle Attachment Method
Handles are typically either molded as one piece with the brush head or attached separately with adhesive or a press-fit joint. A one-piece molded brush tolerates more water exposure at the handle-to-head junction than a brush with a separately attached handle, where repeated soaking can weaken the bond over months of regular cleaning.
This is also a useful frame of reference when sourcing hairbrushes in bulk, whether for retail, salon use, or private-label products: a hairbrushes factory that specifies bristle material, base construction, and handle attachment method clearly in its product spec is giving you the exact information needed to write accurate care instructions for the end customer — which reduces returns from customers who damaged a brush by cleaning it the wrong way.
Final Takeaway
Cleaning a wet brush properly comes down to three habits: remove trapped hair before soaking, soak only the bristle head in warm (not hot) water with a clarifying shampoo, and dry bristle-side down. Doing this every 1–2 weeks keeps a detangling brush gliding smoothly and hygienic, while matching the cleaning method to the brush's actual bristle and base material — flexible nylon versus natural boar bristle, in particular — prevents the kind of water damage that shortens a brush's usable life well before the bristles themselves wear out.